The DIY Designer: What kind of topcoat should I use and when?
Authored By rainonatinroofblog
For the first few pieces of painted furniture I did, I had no idea what a topcoat was or that I was supposed to use one to seal and protect furniture. I quickly learned that if you paint a piece with a flat sheen of paint, you will eventually wind up with a bruised and scratched-up piece of furniture that ain’t pretty. You live. You learn. It took a few more tries, but I finally realized the benefit of a topcoat and when to use one.
There are many different types of topcoats, and each is a little different.
PolyurethanePolyurethane is most typically used on stained wood and gives a very durable finish. I don’t recommend polyurethane for painted furniture, because it tends to yellow the paint over time. It’s also oil-based, which works best on top of stained wood and other oil-based paints. Personally, I have used Minwax Polyurethane to protect stained pieces, such as the inside of my front door. I typically brush on a light coat with a high-quality paintbrush, followed by a light sanding, another light coat, light sanding, then a final light coat. I usually go with a satin polyurethane because the gloss is pretty glossy. If you don’t use the fast-drying version, it usually takes a few days for your piece to fully cure.
Velvet Finishes ProtectMy new favorite furniture paint is Velvet Finishes. Velvet Finishes paint already has a topcoat built into the paint. However, if you are painting something that will get a lot of use, like a tabletop, dresser, end table, etc., you should still use a topcoat on it. The Velvet Finishes topcoat is called Protect. It’s a polyurethane, but it is nonyellowing and water-based. It gives great protection without the yellowing. With this one, I brush on one light coat and let it dry-that’s it. The radio turned drink bar got a coat of Protect after it was painted.
Furniture waxThere are many people who are crazy about furniture wax. I am not one of those people. This is my least-favorite way to protect furniture, but I still do it on occasion. Wax gives furniture more of a flat finish. Most people rub it on with a cloth, let it sit, and then buff it. However, I have a much easier method to waxing furniture when I have to. Anytime I wax a piece, I use Minwax Paste finishing wax. When I made our laminate counters look like stone, I used wax to finish them because it gave the flat, stonelike finish I was looking for.
PolycrylicWhile many polyurethanes (except Protect) are oil-based and go on stained wood and oil-painted furniture, polycrylic is water-based and can go on wood or paint. It can be applied the same as polyurethane-brush on, light sanding, brush on, light sanding, brush on.
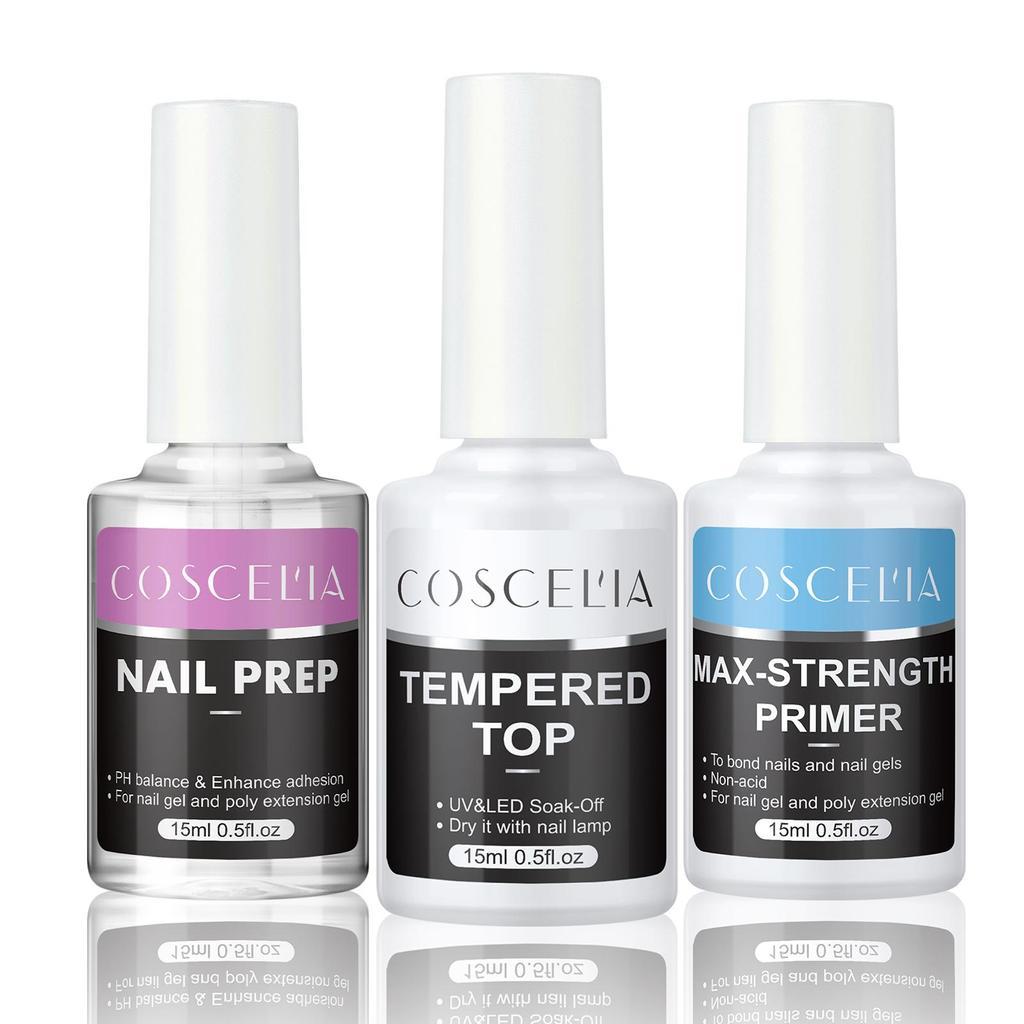
However, polycrylic can also be sprayed on with a paint sprayer. This is what I typically do, because it takes a lot less time and I usually only need one coat with my sprayer. I use my HomeRight Finish Max sprayer to do this.
I used polycrylic on this DIY industrial coffee table over the stained wood.
Clear topcoat sprayI only recommend using spray topcoats (in a spray paint can) over spray painted pieces. Most of the time, spray painted pieces don’t need any extra protection. If you are spraying something that is decorative and not going to get a lot of hands-on action, I wouldn’t worry with top coating it. That being said, if you spray paint something and want to make it really glossy, you can spray a clear gloss topcoat on it to achieve the look. Spray a gloss topcoat or any other spray topcoat on in light coats.
Fair warning: It can be tough to get semi-gloss and gloss spray topcoats even on large pieces. This is why you do multiple light coats; otherwise, you could end up with streaks. I have always used Rust-Oleum spray topcoats.
After I spray painted my barstools, I knew they would be getting a lot of use, so I gave them a couple of coats of spray topcoat.
Some glazesThis is a new one to me. When I found Velvet Finishes, I learned that their glazes also function as topcoats for added protection to your furniture-which is pretty sweet. They have two glazes, a dark and clear. The dark is great for aging furniture, and you can make any color of glaze you want with the clear glaze. To apply, you brush on a small amount and wipe off any excess. You can see how-to photos of this from this recent dresser makeover. I used a dark glaze on this IKEA Tarva dresser turned drink bar, also.
There are some cases in which you may not need a topcoat, such as:
Do you have any tips or tricks about topcoats?
Need more painting help? Find out why your paint might be peeling here or read about three ways to paint your furniture here.
Jenna LaFevor rants on at Rain on a Tin Roof about DIY projects, junk décor, thrifty finds, crafty creations and other decorating dilemmas. She went to UTC, where she got a teaching degree that now collects dust. When she isn’t trying to keep her kid from climbing out of the circus ring or making sure her husband’s shirts are taken to the dry cleaners so she gets out of ironing, she can be found with a paintbrush in one hand and a cheap beer in the other. But if you’re buying, she’ll have a cosmopolitan. You can email her at [email protected] or you can connect with her on Facebook, Twitter @raintinroofblog or at her blog. The opinions expressed in this column belong solely to the author, not Nooga.com or its employees.

